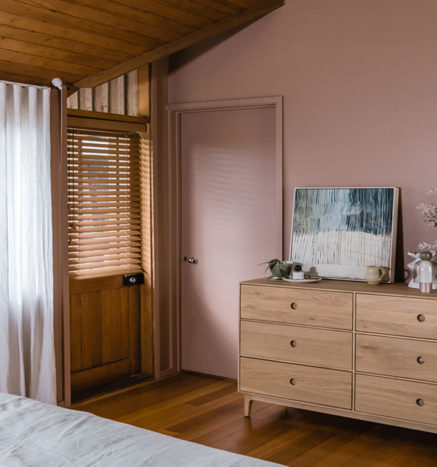
The easy way to install timber venetian blinds
Welcome to our simple guide for installing your new, custom timber venetian blinds. Your custom kit is super easy to use, so have fun as you click, slide and lock parts together.
Before you get going
Your custom kit:
 A
A
 B
B
 C
C
 D
D
 E
E
 F
F
OK it's time to start installing,
let's take it step by step
Installing your blind is easy and fun. Follow these 6 steps, then kick back and admire a job well done.
Here's how to do it:
1 Get organised
-
A
Unpack your custom kit, and lay out your venetian blind on a clean floor, under your window.
2 Mark up
-
A
Place the end brackets on their corresponding sides - the bracket etched with LHS goes on the left and RHS on the right.
Space out central brackets evenly (at least one bracket every 900mm)
Tip: Use the edges of your architraves as a reference to keep brackets level. Ensure the end brackets are fitted to the width you originally measured for your order.
-
B
Take your pencil and your brackets. Lift each bracket up into position and mark two level dots where the screws will attach the bracket to the frame.
3 Attach your brackets
Using your cordless drill with the 3 mm drill bit, pre-drill 2 holes where you marked the two pencil dots.
Pick up the bracket and position it directly over the two holes you just drilled. Secure the bracket with the screws in your custom kit, using your cordless drill with the Phillips head drill bit.
Repeat the process for the other brackets.

4 Insert your blind
Slide the head rail into the brackets and close the brackets to secure the blind.
5 Attaching the valance
Face fit blinds will also include two side returns for the valance.
Attach the return to the fascia using the clips on the reverse of the fascia.
The valance can then be clipped onto the head rail of the blind via the hooks on the reverse of the valance.
6 Make it child safe
-
A
Fasten the cleats to the frame using the screws provided. Do not use tape or glue.
-
B
The cord must not form a loop longer than 220mm and should be wound entirely around the cleat.
-
C
We take Australian child safety laws seriously. The cleats must be installed at least 1600mm above floor level, because a child is capable of unwinding a cord from a cleat. See 'Let's get real about child safety' at the bottom for more info.


Congrats, you did it! Before you kick back and admire a job well done, don’t forget to snap some photos and share your look with us. And tag us on Instagram to really make our day.
Let's get real about child safety.
Children don't understand that a chain wrapped around their neck can tighten and strangle them in just a few minutes if they sit down, roll around or climb down to the floor.
Children have died when the loop went over their head or they got tangled in a loose chain while:
- sleeping in a cot or bed near to where chains are hanging
- playing near chains, or
- standing on a chair, sofa or bed to look out of a window.
You must follow the Australian Government requirements when installing your blind.
- Install your p clip exactly as per step 5 of this guide
- Don't remove the warning label that comes attached to your blind
- Attach your own label with your name and contact details (or the details of whoever is installing your blind for you)
Have a question? We’re here to help
1300 918 390
Mon to Fri 9am - 5pm


